Quick simple and easy 5d Diamond Painting kits come with everything in a beautifully packaged box.
Kit includes printed canvas + beads + tool set


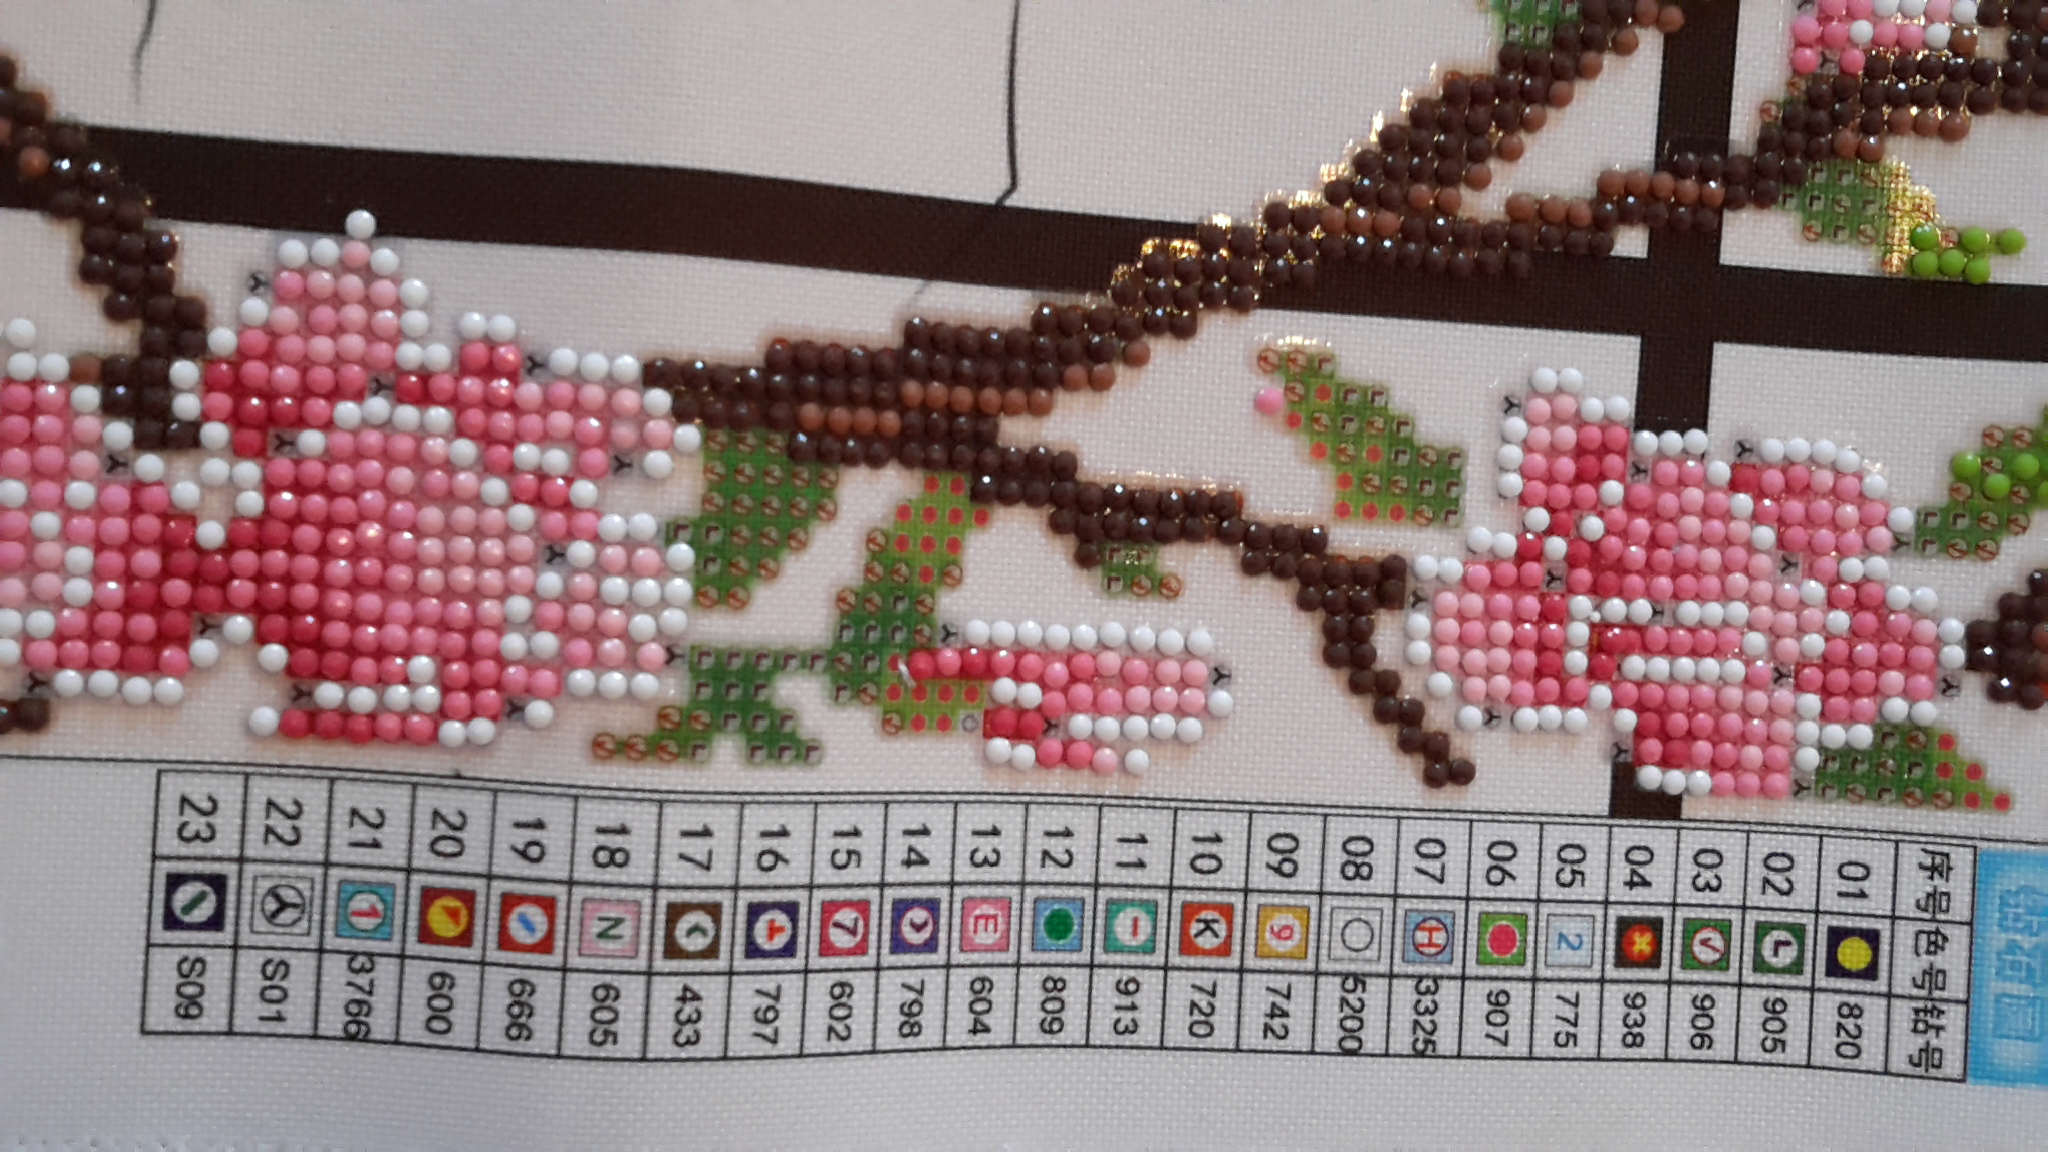
The kits are exactly like a cross stitch / tapestry kit. The print where the beads need to be stuck is coded and has the adhesive already on the canvas. There is a clear sheet / paper covering the picture to protect the adhesive.


The code is printed on the side for easy reference

The beads are coded as well

The pack includes a tool kit

A small tray with grooves, a pen shaped tool and a cube of gel (colours of tool kit may vary). Carefully pull back clear film on one side of gel cube and pick a tiny bit from one corner on to the pen. This makes the pen tacky on both ends. The narrow end of the pen picks up one bead and the wide end can pick up three beads at a time.


You get the right amount of beads to complete the picture. There is always plenty of extra beads. The pack of beads are labelled (in the picture i am using the white beads pack labeled 8). Find number 8 on the code on side of picture.
In this sample the number 8 corresponds to a black circle outline. Now find the code in the picture


Place beads on tray. Shake the tray and tilt gently tapping. The beads line up against the grooved lines

The beads should be right side up

Use the tacky pen narrow side to gently tap and pick up one bead


Or use the wide end to pick up three beads at a time


Start beading from one corner. Pick the plastic film from a small area at a time. DO NOT REMOVE FILM FROM WHOLE PICTURE. Otherwise it will spoil the adhesive. The glue is very strong avoid touching it while working on the picture. Find the code on the canvas and place the bead flat side down pressing down so the beads stick down.


By placing three beads at a time you can complete the picture faster


Continue beading in same manner.
TIP Use pill boxes labelled with numbers example 1-30 to place the beads according to number order. I find this easy to work with. This way I do not have to do the whole pack at one time which might require placing the beads in different parts of the picture for which you would have to remove protective film continuously from whole picture which could spoil the glue. It is also easier to work with the beads from a box than a plastic bag.

See your picture come to life. The beads have a special shine which makes the picture sparkle hence the name Diamond Painting

Once complete gently rub the picture. This pushes the beads into the glue sticking them well. Place some heavy books on the picture overnight. The glue bonds well with the beads.
Place the picture in a frame / cancas and display your artwork.
Need another picture. Visit us at our next event or shop online.


